Set up an email sequence for Facebook sign-ups
Create an automated email sequence for a Facebook sign-up landing page so leads receive an immediate information email followed by a timed follow-up automatically.
Before you start
- Create the email templates first — Before building the sequence, make sure the email templates you want to send already exist, for example an initial Info Pack email and a follow-up email.
- Have an active landing page ready — The landing page should already exist and be active so it can be linked to the sequence.
- Use a landing page with email capture — This workflow assumes the landing page collects the lead’s email address, which is required for sequence enrolment.
Follow these steps
- 1
Check that the email templates are ready
Open Email > Email Templates and confirm the emails you want to send already exist. In this example there is an initial template called Info Pack and a follow-up template called Info Pack Follow Up.
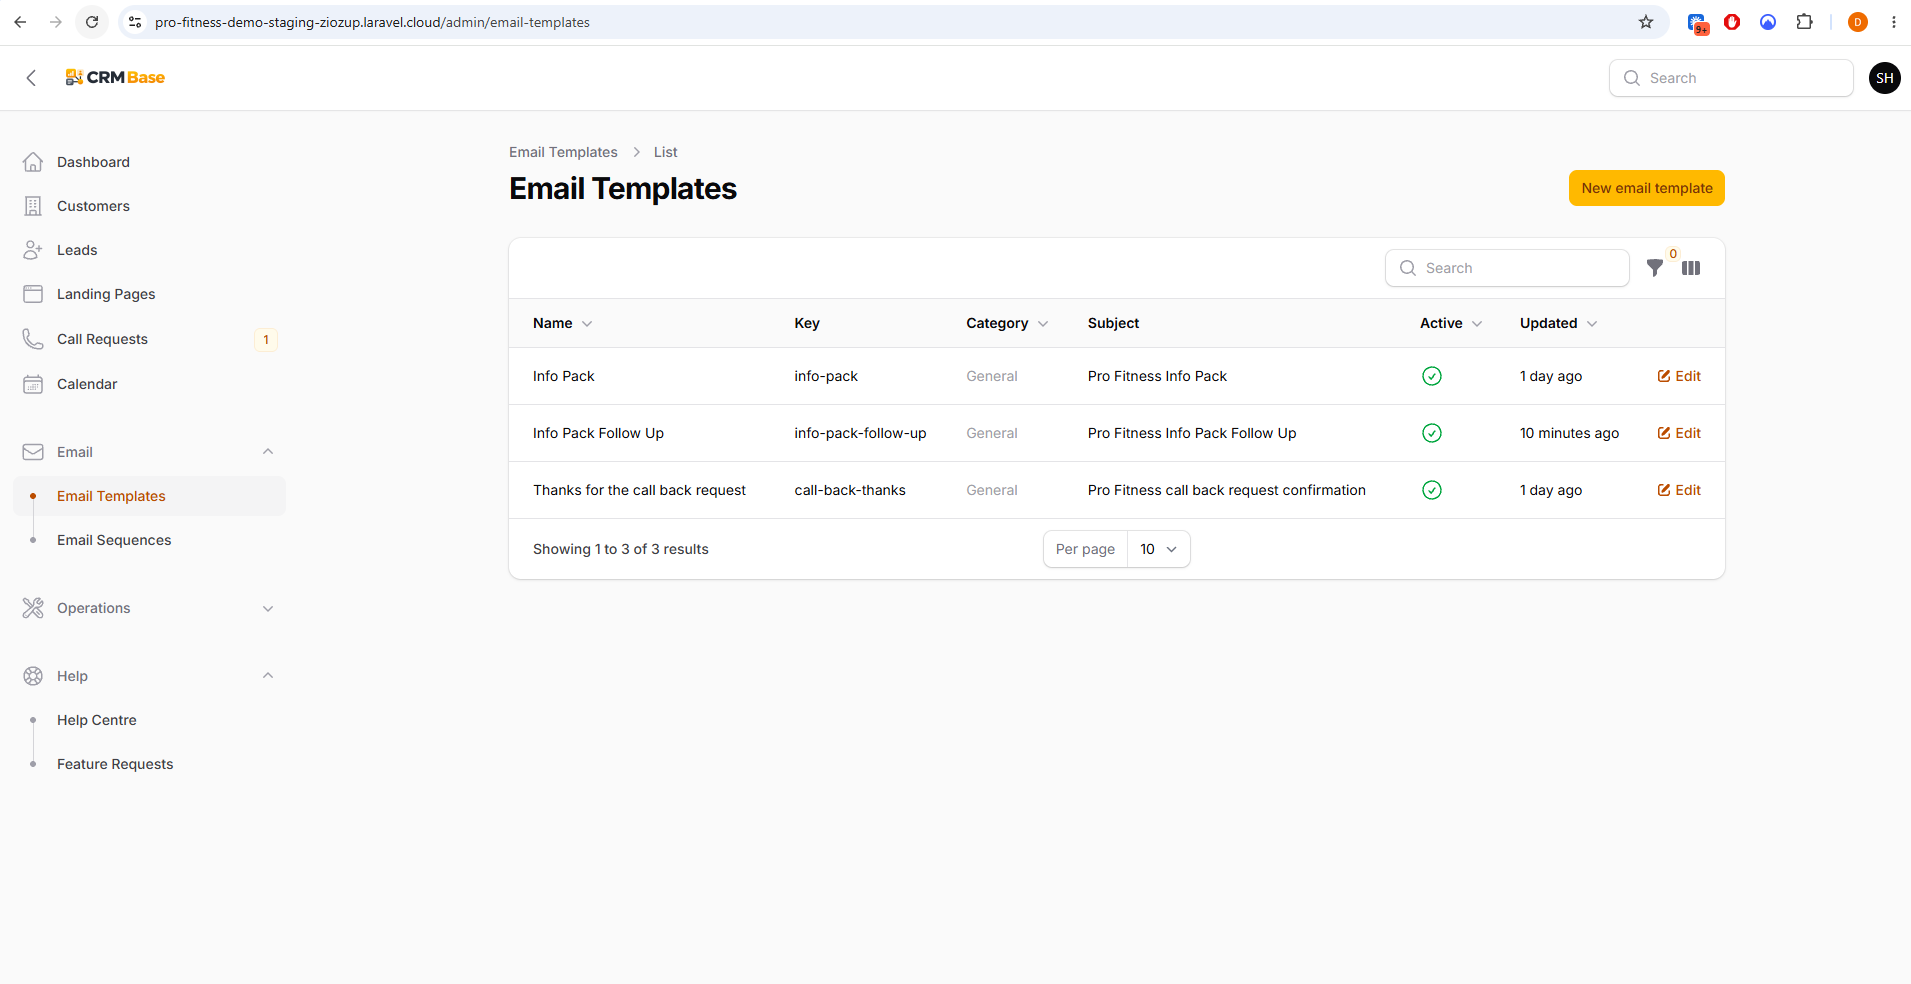 Expected resultThe email templates you need are visible and ready to be used in a sequence.
- 2
Open Email Sequences
Go to Email > Email Sequences. You can create a new sequence or edit an existing one if you are updating it.
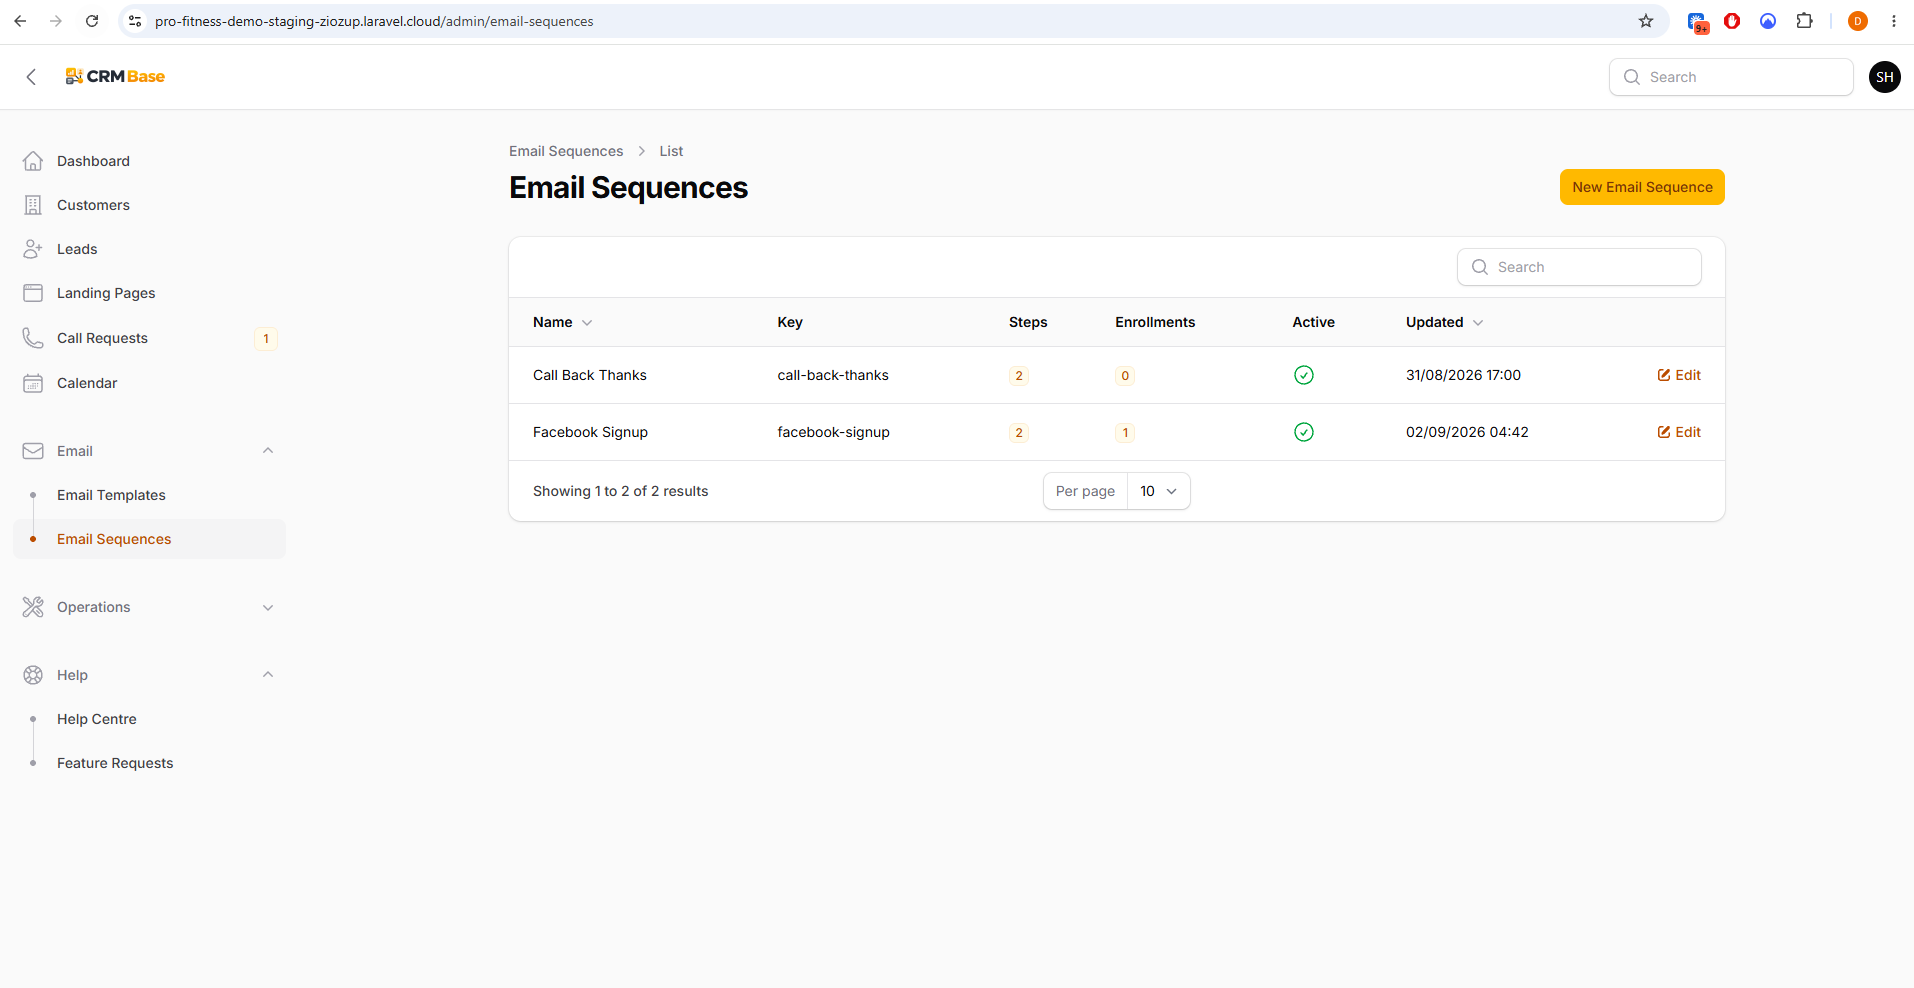 Expected resultThe Email Sequences list is displayed.
- 3
Create or edit the Facebook Signup sequence
Open the sequence you want to use for this landing page. For a new setup, create a sequence called Facebook Signup. This gives you one reusable automated journey for leads who sign up through the Facebook landing page.
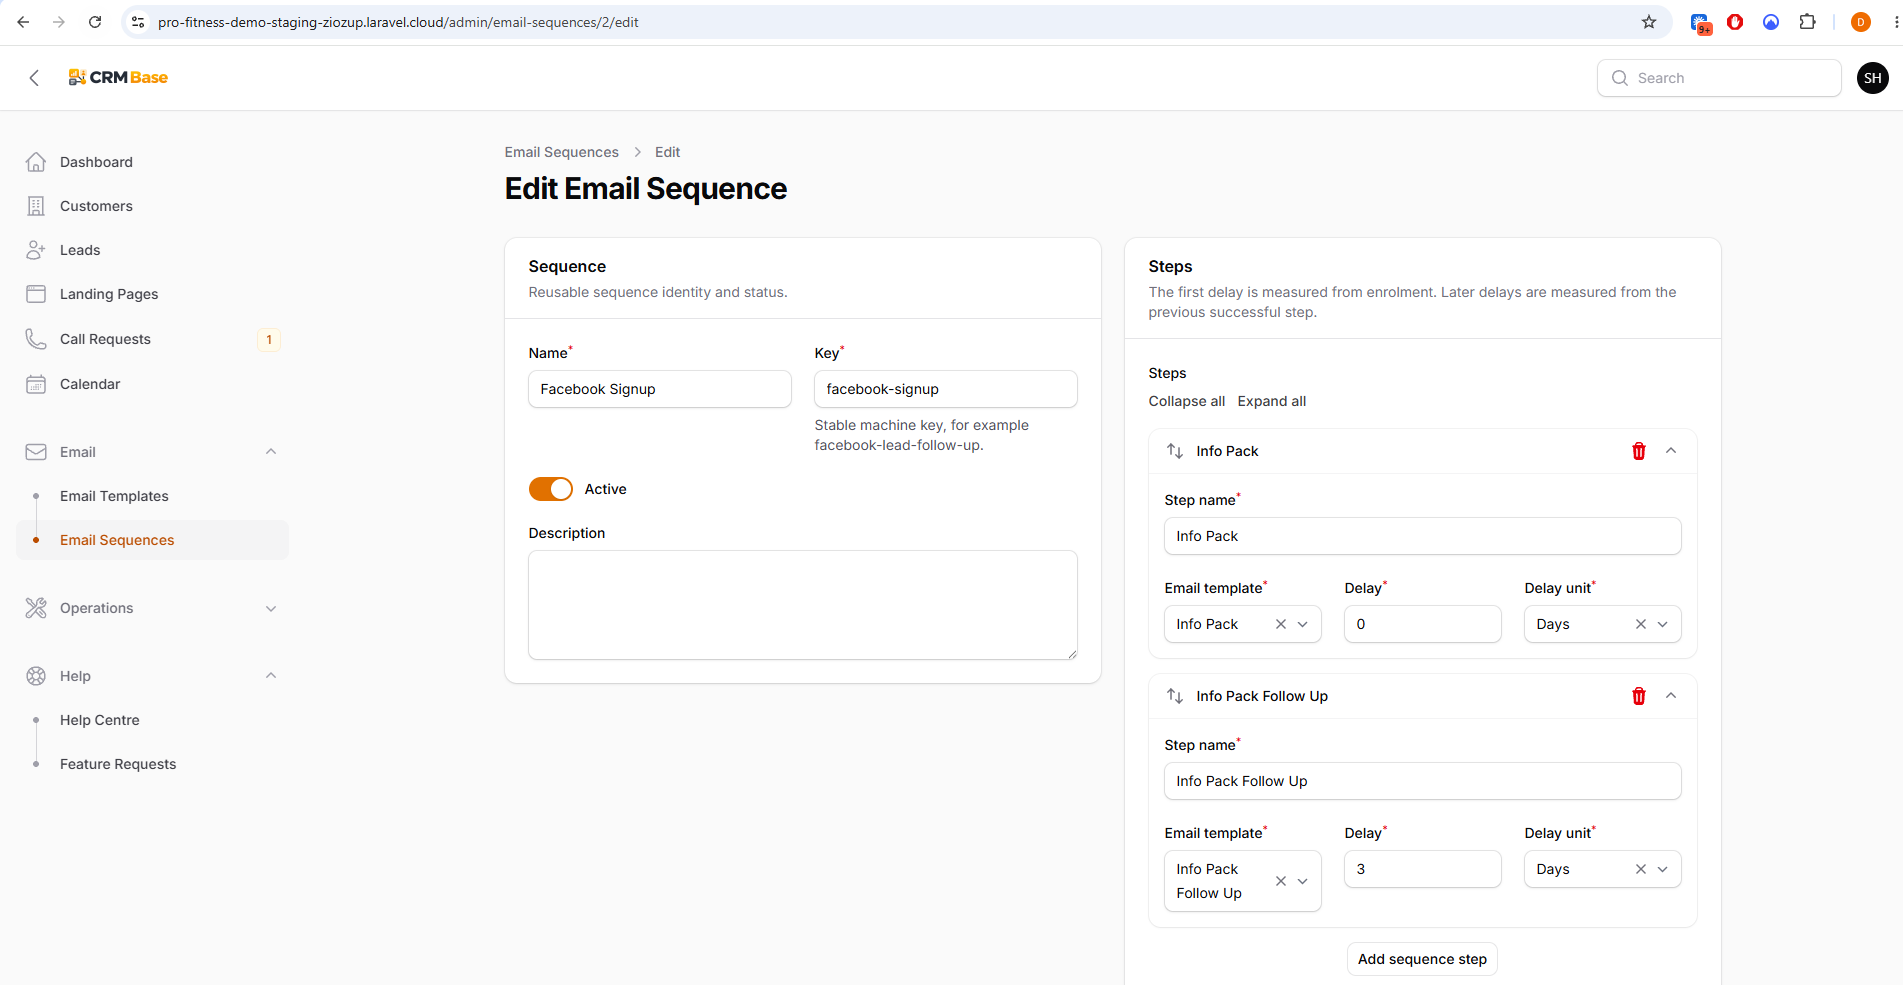 Expected resultThe Email Sequence edit screen is open for the Facebook Signup sequence.
- 4
Add the first sequence step
In the Steps section, add the first step using the Info Pack email template. Leave the delay as 0 and use Days as the unit if you want the email to send immediately after enrolment. You can keep the step name the same as the email template name or change it to something more descriptive.
Expected resultThe first step is configured to send the Info Pack email immediately. - 5
Add the follow-up step
Add another sequence step for the follow-up email. In this example the step uses the Info Pack Follow Up template with a delay of 3 days. This means the follow-up will be sent after the initial email, based on the delay you set.
Expected resultA second follow-up step has been added to the sequence with the correct template and delay. - 6
Save the sequence
Save your changes once the steps are in the correct order and the delays are set as required.
Expected resultThe Facebook Signup email sequence is saved and ready to be assigned to a landing page. - 7
Assign the sequence to the landing page
Go to Landing Pages and open the relevant landing page, in this case Facebook Sign Up. On the Details tab, select Facebook Signup in the Email sequence field. Make sure the landing page is active. This links the automated email journey to that specific landing page.
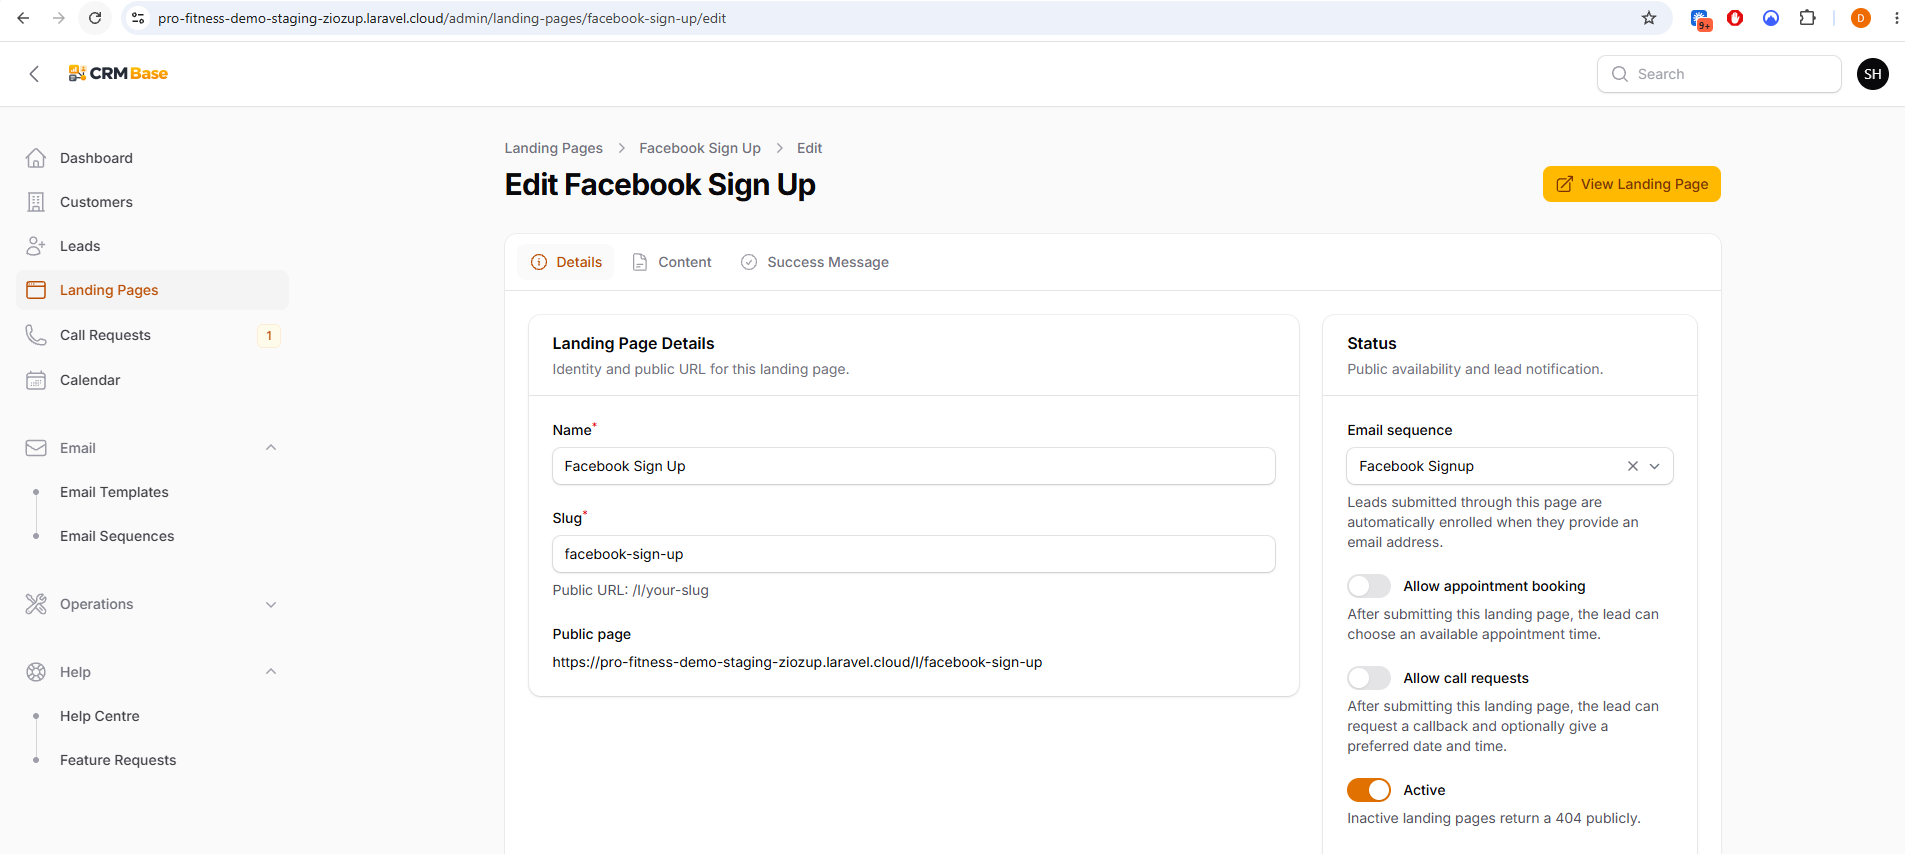 Expected resultThe landing page is configured to enrol new sign-ups into the Facebook Signup email sequence.
- 8
Test the public sign-up page
Open the public landing page and submit a test enquiry using the form. This page can be kept simple if you only want sign-ups and do not need appointment booking or callback requests.
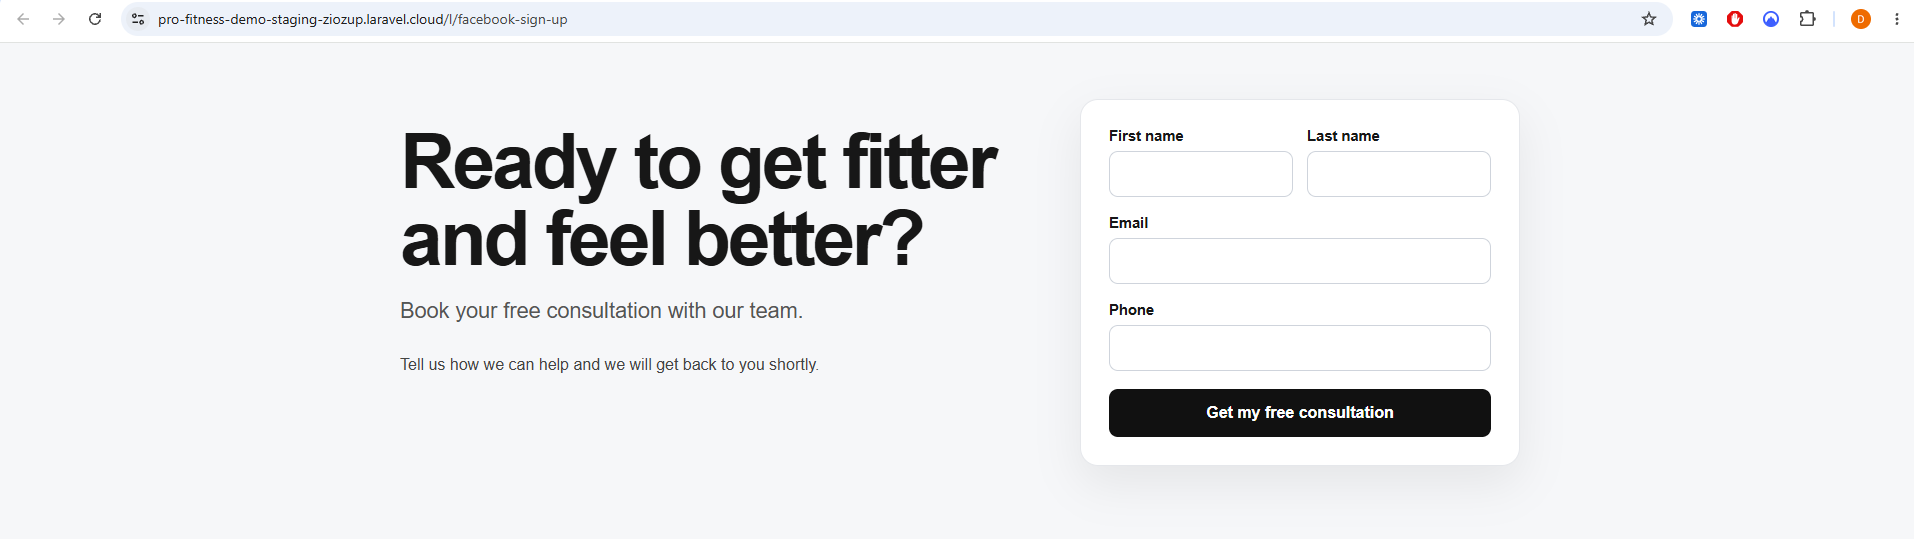 Expected resultThe form accepts the lead details and submits successfully.
- 9
Confirm the success message
After submitting the form, confirm that the lead sees the success message. This helps verify that the enquiry has been accepted and the lead should now be enrolled into the linked email sequence.
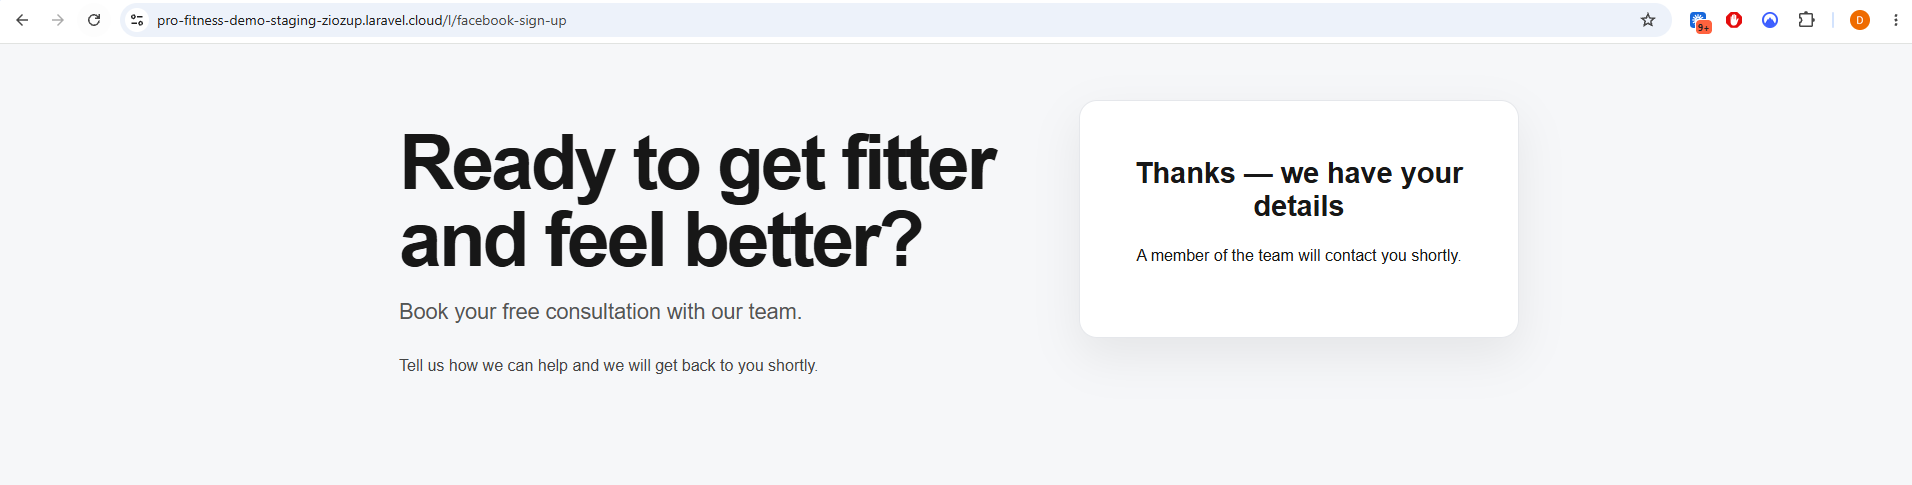 Expected resultA confirmation message is shown after the form is submitted.
- 10
Check the lead’s sequence activity
Open the newly created lead in Leads and go to the Sequences tab. Check that the Facebook Signup sequence is listed, the status is Active, the current step is correct, and the next send time is shown.
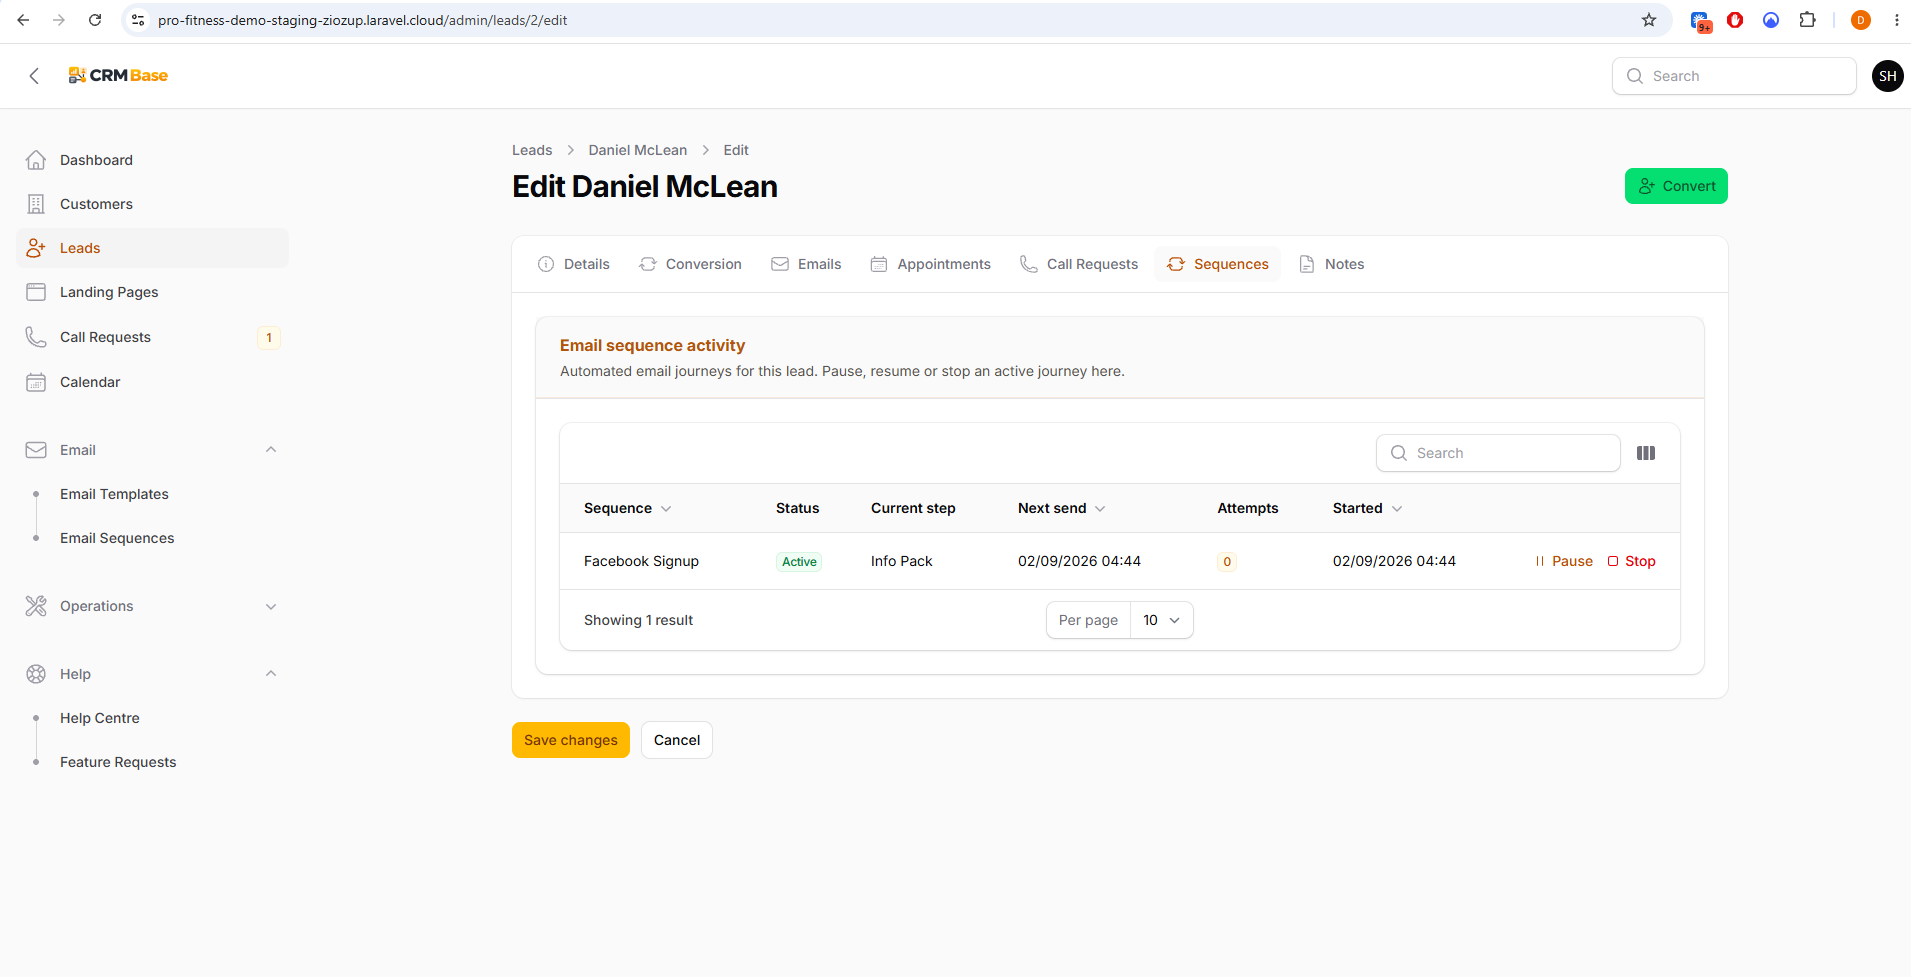 Expected resultThe lead is enrolled into the Facebook Signup sequence and the sequence activity is visible.
When you have finished
Leads who submit the Facebook sign-up landing page are automatically enrolled into the Facebook Signup email sequence, receive the initial Info Pack email immediately, and then receive the follow-up email after the configured delay.
Troubleshooting
The lead is created but no sequence is shown
Check that the landing page has the Email sequence field set to the correct sequence and that the landing page is active.
The sequence exists but no emails are being sent
Make sure the sequence is active, the step templates are valid, and the lead has an email address. Also confirm the delays are set as intended.
The wrong email is sent first
Open the sequence and check the order of the steps. The first step should be the initial email, such as Info Pack, with the correct delay.
The follow-up timing is incorrect
Review the delay and delay unit on each step. Later steps are measured from the previous successful step, so check each stage in the sequence carefully.